
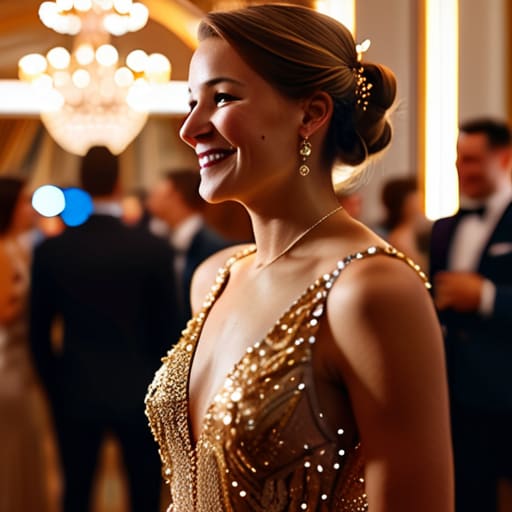
I remember standing in the middle of a rain-soaked community garden launch ten years ago, clutching a heavy, professional camera I’d borrowed from a nephew, feeling utterly useless. I was so worried about the “correct” lighting and aperture settings that I missed the exact moment the local councillor actually handed the first shovel to a teenager. I realized then that most advice on how to take photographs at an event is far too focused on technical perfection and not nearly enough on human connection. You don’t need a thousand-pound lens to capture the spirit of a neighborhood; you just need to know where to stand and who to look for.
In this post, I’m going to skip the expensive gear talk and give you the practical, boots-on-the-ground reality of documenting your group’s hard work. I’ll show you how to capture the moments that actually matter for the cause—the smiles, the handshakes, and the messy, beautiful reality of people coming together. My goal is to ensure that when you look back at your archives, you don’t just see blurry faces, but a clear record of progress that can help you secure your next round of funding.
The Lens and the Ledger How to Take Photographs at an Event
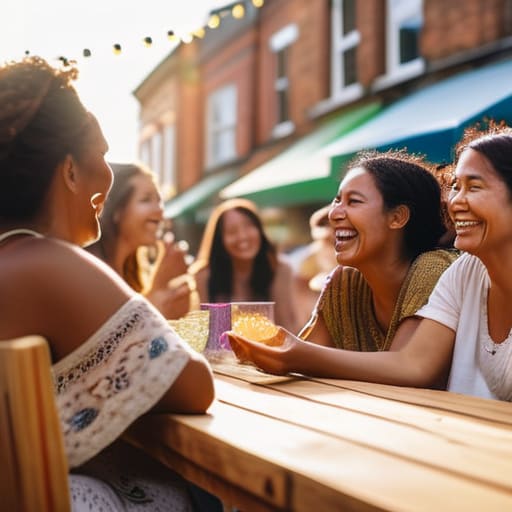
Now, don’t feel you need a professional studio setup to make this work. I’ve seen many a lovely street party ruined because the only photos we had were blurry shots of empty plates. You don’t need a fancy DSLR to start; a decent smartphone is often enough, provided you have a basic event photography equipment checklist—think extra battery packs and a bit of storage space. My advice is to focus less on the scenery and more on the people. You want to show the council, or a potential new donor, that the community is actually alive and engaged.
The real magic, however, happens when you are capturing candid moments rather than staging awkward line-ups. A photo of two neighbours sharing a laugh over a tea tray tells a much better story of regeneration than a posed group shot ever could. Just be mindful of the “boring” bits that I hold so dear: always check in on managing photo permissions at public events. A quick word to ensure people are happy to be on camera prevents headaches later. If you capture the spirit of the day, you’ve done your job.
Beyond the Gear Your Essential Event Photography Equipment Checklist
Now, don’t let the fancy catalogs fool you; you don’t need a kit that costs more than your first car to do a decent job. When I was working in regeneration, I saw plenty of well-meaning volunteers freeze up because they were wrestling with a piece of technology they didn’t understand. My personal event photography equipment checklist always starts with the basics: a reliable camera, a spare battery (always a spare!), and a large, fast memory card. If you’re running a street party or a small hall meeting, your smartphone is often more than enough, provided you have enough storage to keep those smiles safe.
The real trick isn’t having the most expensive lens, but being prepared for the unpredictable. If you’re indoors in a drafty village hall, you’ll quickly find that standard event photography lighting techniques aren’t quite enough. Instead of hunting for a professional flash, try to position yourself near a window or use whatever ambient light is available to keep things looking natural. Most importantly, bring a small notebook. I know it sounds old-fashioned, but jotting down who was there and what was happening helps immensely when you’re sitting down later to sort through the files.
Chasing the Unscripted Capturing Candid Moments at Parties
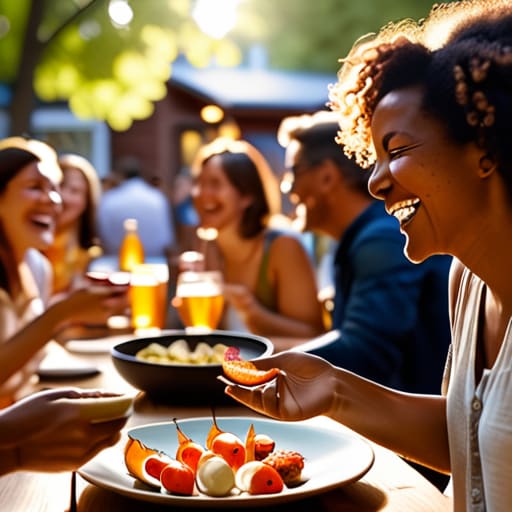
Now, if you want to truly capture the spirit of a street party or a small community gathering, you have to stop looking through the viewfinder and start looking at the people. The best shots rarely happen when you ask everyone to “say cheese” and line up against the village hall wall. Instead, it’s the laughter over a shared plate of sandwiches or the look of concentration on a child’s face during a sack race that tells the real story. Capturing candid moments at parties requires a bit of patience and a lot of invisibility; you want to be a fly on the wall, not a spotlight in their faces.
I’ve learned over the years that if you linger in the corners, people eventually forget you’re there. This is where your best camera settings for event photography come into play—you want a shutter speed fast enough to catch a sudden movement, but a wide enough aperture to handle those tricky, dim indoor lights. Don’t worry about being a professional; just focus on the genuine connections. When you document these unscripted interactions, you aren’t just taking pictures; you are building a visual archive that proves to future committee members exactly why this community is worth fighting for.
Mastering the Shadows Strategic Event Photography Lighting Techniques
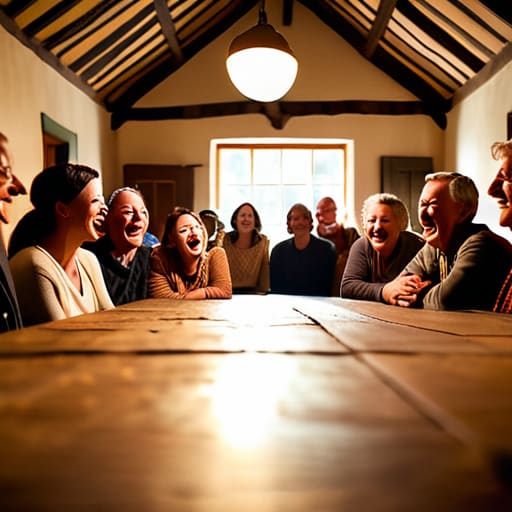
Now, don’t let the dim lighting in a drafty village hall or a crowded community centre daunt you. Most of our best gatherings happen under questionable fluorescent tubes or near a single, flickering lamp. When you’re working with these tricky event photography lighting techniques, the goal isn’t to turn the room into a bright studio, but to preserve the atmosphere that made the evening special in the first place. If you try to fight the shadows too aggressively with a harsh flash, you risk losing that sense of warmth and intimacy that brings people together.
Instead, I’ve found that leaning into the natural light—even if it’s meager—often yields the most honest results. If you are using a modern camera, I suggest experimenting with a slightly higher ISO; it might add a bit of grain, but it keeps the scene looking authentic. I always tell my volunteers that while we want clear faces, we also want to capture the feeling of the room. Just remember to keep an eye on your shutter speed so you don’t end up with a gallery of blurry ghosts, especially when you’re busy capturing candid moments at parties.
The Technical Blueprint Best Camera Settings for Event Photography
Now, I’m not a professional photographer by trade, but after thirty years in local government, I’ve learned that if you don’t have a plan, you end up with nothing but a blurry mess of faces. When it comes to the best camera settings for event photography, my rule of thumb is to prioritize the “moment” over perfection. I usually set my camera to Aperture Priority mode. This allows me to control the depth of field—keeping the person in focus while letting the background soften—without getting bogged down in the math while people are actually talking.
If you are moving around a lot, perhaps capturing candid moments at parties or a busy street fair, you must watch your shutter speed. If it drops too low, every handshake and laugh will look like a smudge. I aim for at least 1/250th of a second to keep things crisp. Don’t be afraid to bump up your ISO, too; a little bit of “grain” is a small price to pay for a clear shot of the community spirit. It is much better to have a slightly grainy photo of a real moment than a pristine, empty shot of a chair.
Documenting With Integrity Managing Photo Permissions at Public Events
Now, this is where my years in local government kick in, and I must be quite firm: you cannot simply point and shoot without a plan for consent. While you might be focused on capturing candid moments at parties or community fairs, you have to remember that people have a right to their own image. I’ve seen many a lovely neighborhood project stumble because a disgruntled resident felt “spied on” by a volunteer with a camera. It isn’t just about being polite; it is about protecting the group from a headache down the line.
My advice is to keep it simple but visible. I always suggest a small, clear sign at the entrance of your event stating that photography is taking place for community records. If you are hosting something more formal, a quick verbal check or a simple sign-up sheet works wonders. Managing photo permissions at public events doesn’t need to be a legal marathon, but it does require a bit of foresight. If someone clearly doesn’t want to be in the frame, respect that immediately. A little bit of transparency goes a long way in building the trust a small committee needs to thrive.
Five Ways to Make Your Photos Work for the Committee
- Focus on the ‘doing’, not just the ‘standing’. A photo of a committee member looking intently at a map or a volunteer stirring a large pot of tea tells a much better story of community action than ten photos of people smiling blankly at the camera.
- Keep a mental tally of the faces. When I was in local government, I learned that names matter. If you can, try to note down who is in the frame; there is nothing more frustrating than a beautiful photo of a local hero that you can’t actually identify for the newsletter.
- Look for the ’empty spaces’ that show scale. Don’t just zoom in on the faces; take a few wide shots that show the sheer number of people who turned up. That visual proof of turnout is what makes a grant application for next year’s event look irresistible to funders.
- Capture the ‘before’ and ‘after’. The magic of community work is often in the transformation. A photo of the cluttered, messy hall before the event and the tidy, bustling space during it provides the necessary context for anyone reading your reports later.
- Don’t let the camera become a barrier. If you spend the whole afternoon looking through a viewfinder, you aren’t actually participating in the community. Take your shots, then put the camera down and join the conversation; you’ll often spot the best photo opportunities while you’re actually talking to people.
## More Than Just a Pretty Picture
When you’re out there with your camera, remember you aren’t just snapping pictures for an album; you’re gathering the evidence of your community’s hard work. A good photo is the proof a committee needs to show a funder that the street actually came alive.
Deborah Castellanos
Bringing the Story Home
At the end of the day, taking photos at a community event is about much more than just fiddling with shutter speeds or chasing the perfect light. It is about the careful balance between having your gear ready—from your spare batteries to your permission forms—and knowing when to actually put the camera down to be part of the moment. We have covered the technicalities of settings and the importance of lighting, but never forget that the most valuable thing you are capturing is the human connection that keeps our neighborhoods alive. If you manage your permissions properly and keep an eye on the candid, unscripted joys, you aren’t just taking pictures; you are building a visual archive for the next committee to inherit.
I have seen too many wonderful local projects flicker out simply because there was no record of the energy that started them. When you walk away from an event with a memory card full of meaningful images, you are providing the evidence of impact that funders and neighbors need to see. Those photos become the proof that something happened, that people showed up, and that change is possible. So, go out there, capture the spirit of your street, and remember: document the magic so that the work we do today can be understood and continued by those who come after us.
