
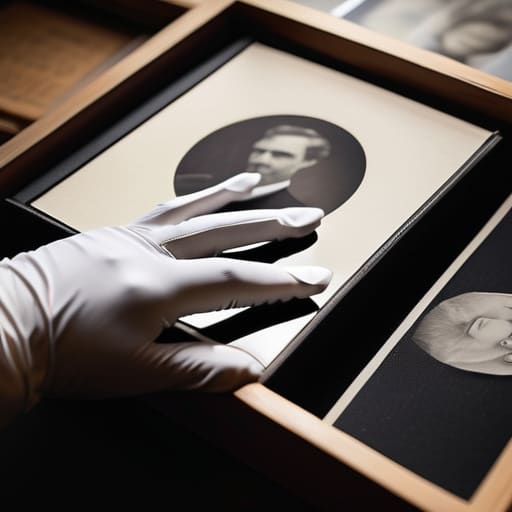
I was sitting in my attic last Tuesday, surrounded by a stack of crumbling cardboard boxes that smelled faintly of damp wool and old dust, when I realized something devastating. I had found a handful of snapshots from the 1950s local street party, but the faces were already beginning to ghost into nothingness. People will tell you that you need expensive, museum-grade climate control systems or high-tech digital scanning services to keep these memories alive, but frankly, that is nonsense. Most of the time, the real struggle with how to preserve old photographs isn’t about buying the most expensive gadget; it’s about simply having a sensible, organized plan before the edges start to curl.
I’m not here to sell you on fancy software or professional archival kits that cost more than a decent community lunch. Instead, I want to show you how to build a simple, sturdy system using things you likely already have in your cupboard. I’ll walk you through the practical, unvarnished steps of sorting, storing, and protecting your neighborhood’s visual history without breaking the bank. If we can organize a parish council meeting, we can certainly save these memories from the landfill.
The Inventory Audit Mapping Your Familys Vanishing Visual Legacy

Before you go buying any fancy boxes or scanning equipment, you have to face the music: you probably don’t actually know how much you have. In my years working on regeneration projects, I learned that you can’t fix a neighborhood until you’ve walked every street to see what’s actually there. The same applies to your attic. I suggest you gather a few trusted family members—don’t try to do this solo—and start a physical tally. Group things by era or type, whether it’s those brittle black-and-whites from the Great War or the glossy prints from your mother’s wedding.
As you sort, keep a sharp eye out for the “silent killers.” If you notice a strange smell or see edges curling, you’re likely looking at a serious case of preventing photo discoloration being ignored for too long. This is the stage where you decide what is truly worth the effort of digitizing vintage family pictures and what is simply clutter. It’s a bit like a parish audit; it feels tedious at first, but without a clear map of what is vanishing, you’ll end up spending money on storage for things you don’t even care about.
The First Line of Defense Safe Handling of Heirloom Images
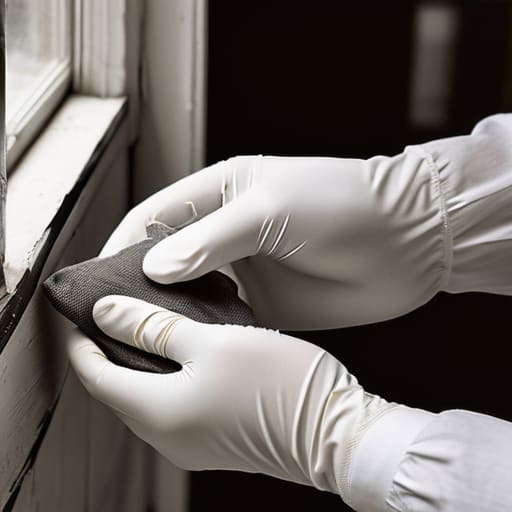
Now, before you go rushing off to buy a fancy scanner, we need to talk about the physical reality of these items. I’ve seen too many lovely neighborhood history projects fall apart because someone handled a 1940s gelatin silver print with greasy fingers or tucked it into a cheap, plastic sleeve from the supermarket. When it comes to the safe handling of heirloom images, your hands are actually your biggest enemy. I always tell my committee members to use clean, cotton gloves or, at the very least, to wash and dry their hands thoroughly before touching anything. You’d be surprised how much damage a single smudge of skin oil can do over a decade.
Once you’ve got your hands sorted, you have to look at where these treasures actually live. Most people think a shoebox under the bed is “safe enough,” but that’s a recipe for disaster. You really need to invest in some proper acid-free photo storage solutions to keep the chemistry of the paper stable. If you can, try to find a spot in the house that isn’t prone to dampness or direct sunlight; controlling humidity for photo storage is just as important as keeping them out of the light. It’s about creating a little sanctuary for these memories so they don’t fade away before we even get a chance to record them.
The Chemistry of Survival Preventing Photo Discoloration Forever
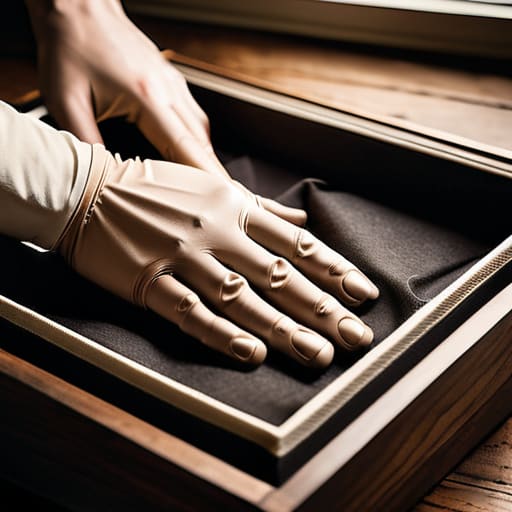
Now, this is where many well-meaning groups stumble. You can have the most organized committee in the world, but if you’re tucking those precious snapshots into a standard cardboard box or a cheap plastic sleeve from the supermarket, you’re essentially inviting decay. Most of those everyday materials are full of acids that slowly eat away at the image. I’ve seen too many community archives ruined because someone thought a shoebox was “good enough.” If you want to succeed, you must invest in acid-free photo storage solutions. It’s a bit of an upfront cost, I’ll grant you, but it’s much cheaper than trying to repair a photograph that has turned into a brown smudge.
It isn’t just about what the photos touch, though; it’s about the air they breathe. I always tell my volunteers that controlling humidity for photo storage is just as vital as the containers themselves. If your storage cupboard is damp, you’re asking for mold; if it’s too dry, the paper becomes brittle. Aim for a cool, dry, and dark spot—never an attic or a basement. It’s about creating a stable little environment where time just seems to stand still.
Building the Vault Acid Free Photo Storage Solutions That Work
Now that we’ve addressed the chemistry of the prints themselves, we need to talk about where they actually live. I’ve seen far too many community heritage projects stumble because they bought a few cheap plastic tubs from a supermarket, only to find the contents turned yellow within a year. If you want to do this properly, you must invest in acid-free photo storage solutions. It sounds like a technical mouthful, but it really just means getting containers that won’t “off-gas” chemicals that eat away at your history. I always tell my neighbors: if the label doesn’t explicitly say “archival grade,” leave it on the shelf.
When choosing between boxes and binders, I’m a firm believer in archival quality photo albums that use unbuffered, lignin-free paper. They keep everything organized, which is half the battle when you’re trying to pass information down to the next generation. However, even the best box is useless if you leave it in a damp basement or a sweltering attic. You have to be mindful of controlling humidity for photo storage; a cool, dry cupboard in the middle of the house is much better than a fancy vault in a cellar.
The Climate Mandate Controlling Humidity for Photo Storage Success
I remember a local historical society I worked with back in the nineties; they had the most beautiful collection of street scenes, but they kept them in a damp basement. Within two years, the silvering had turned to a milky mess. It’s a heartbreak I’ve seen far too often. When we talk about controlling humidity for photo storage, we aren’t just being fussy; we are fighting a war against mold and chemical breakdown. If your storage space feels “clammy” or smells musty, your precious images are already under siege.
The goal is stability. You want to keep your environment between 30% and 50% relative humidity. If it’s too dry, the paper becomes brittle and cracks; if it’s too wet, you’re inviting fungal growth that can ruin a collection overnight. I always tell my committee members that even the best acid-free photo storage solutions won’t save a picture if it’s sitting in a humid cupboard. If you can’t control the air, you might consider a small, airtight dry box or even a dedicated dehumidifier in the room where you keep your archives.
A Digital Blueprint Digitizing Vintage Family Pictures for Posterity
Now, once you’ve got your physical copies tucked away safely, we have to talk about the digital side of things. I’ve seen too many lovely neighborhood history projects fall apart because the only copy of a photo was a single, curling print that eventually succumbed to age. Digitizing vintage family pictures isn’t just about making a backup; it’s about creating a version of that memory that can be emailed to a grandchild in seconds without the fear of a thumbprint ruining the emulsion. It’s your insurance policy against the physical world.
When you start scanning, please don’t rush it. I know it’s tempting to fly through a shoebox of memories, but you must maintain the same safe handling of heirloom images during the scanning process as you do when you’re filing them away. Use a high-resolution setting—aim for at least 600 DPI—so you aren’t left with a blurry mess when you try to blow them up for a community display. Think of the digital file as a secondary life for the image; it should be stored in more than one place, preferably on both a hard drive and a secure cloud service.
Five Practical Steps to Keep Your Neighborhood’s History from Fading Away
- Don’t try to do it all alone; get three or four reliable neighbors to form a little “History Subcommittee” so the workload doesn’t fall on just one person’s shoulders.
- Keep a simple notebook—not a fancy digital spreadsheet, just a proper paper log—to record who owns which box of photos and where they are being kept.
- If you’re borrowing photos for a community display, always use a pencil to note the names on the back, because ink has a nasty habit of bleeding through and ruining the image.
- Avoid the temptation to use those old, sticky-backed photo albums from the seventies; they are essentially slow-motion acid attacks on your family’s memories.
- Set a recurring date on the community calendar, perhaps once a year after the parish meeting, to check that your storage boxes haven’t been moved to a damp basement or a hot attic.
## More Than Just Paper and Ink
We often treat old photographs like dusty relics, but they are actually the only surviving minutes of our lives; if we don’t take the time to store them properly now, we are essentially allowing the history of our families to be erased by nothing more than a bit of damp and neglect.
Deborah Castellanos
The Legacy in Your Hands
We have covered a lot of ground, from the physical grit of acid-free boxes to the technical precision of digital scanning. It can feel overwhelming, I know. You start with a single shoebox of faded snapshots and suddenly you are worrying about humidity levels and chemical degradation. But remember, the goal isn’t to build a museum; it is to create a sustainable system. By auditing your collection, handling images with care, and controlling the environment where they live, you are essentially building a protective bulkhead against time. You are making sure that the work of organizing these memories isn’t lost to a single damp basement or a poorly managed drawer.
I spent thirty years in local government watching community projects crumble simply because no one bothered to write down the process. The same thing happens to family histories. If you don’t document how you’ve stored these treasures, the next generation will be left guessing. Don’t just save the photos; save the instructions for them, too. When you take these steps, you aren’t just tidying up an old album; you are ensuring that your grandchildren will know exactly who they are and where they came from. It is a small act of stewardship, but it is the most important way to keep a family’s story from fading into silence.
